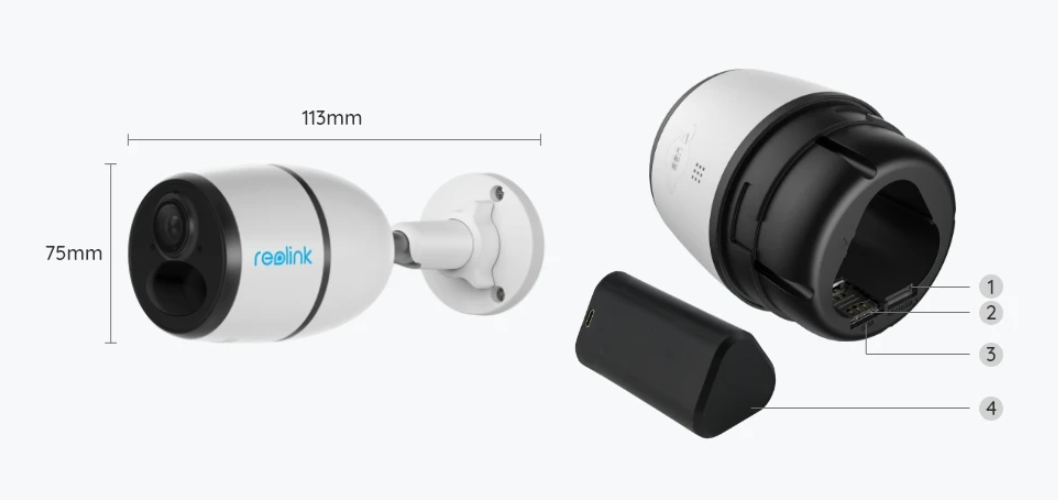
If you are interested in Reolink Go Plus or already have ordered it, check out this article to see what you can get in the box and how to start using it.
This video will show you what's in the box and take a quick look at the camera's features.
Here is detailed information about the camera's structure and components.

1. Micro SD card slot
2. SIM card slot
4. Battery status LED
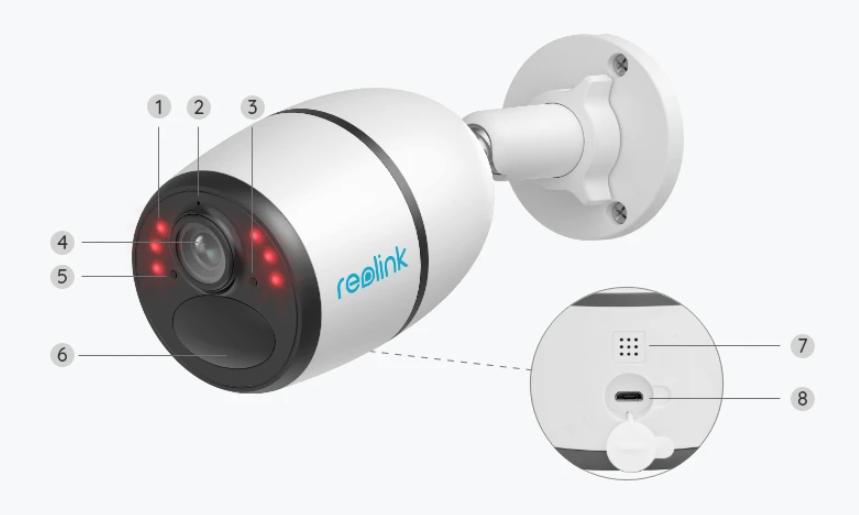
5. Daylight sensor
6. Build-in PIR motion sensor
8. Micro USB port
For the product parameters, please refer to Reolink Go Plus Specifications.
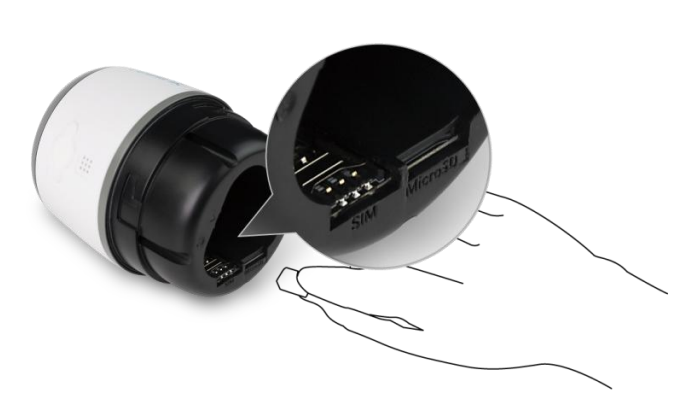
1. Rotate the back cover counterclockwise and take it down. Then, insert the nano SIM card into the slot.
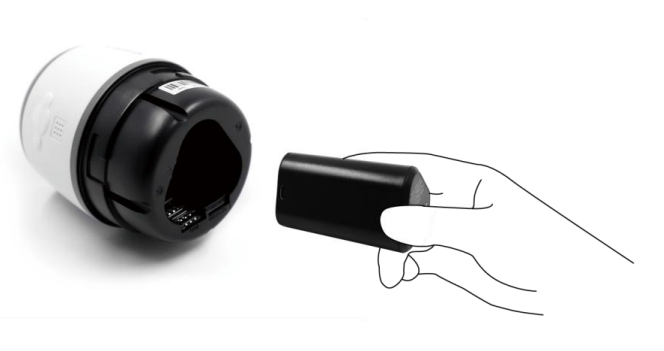
2. Insert the battery into the camera and put back the back cover (rotate the back cover clockwise to tighten it).
3. The red LED will be on and solid for a few seconds and then go out.
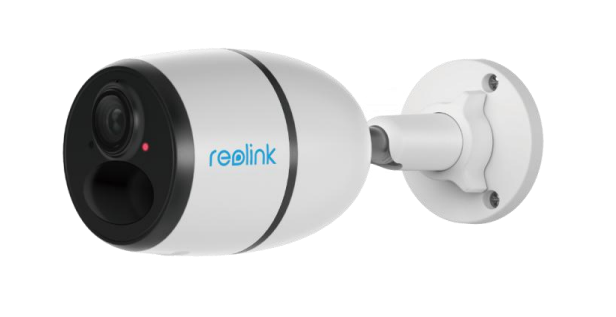
4. You will hear the voice prompt saying “Network connection succeeded”. The blue LED will blink a few times, turn solid, and go out. It means that the camera has been successfully connected to the network.
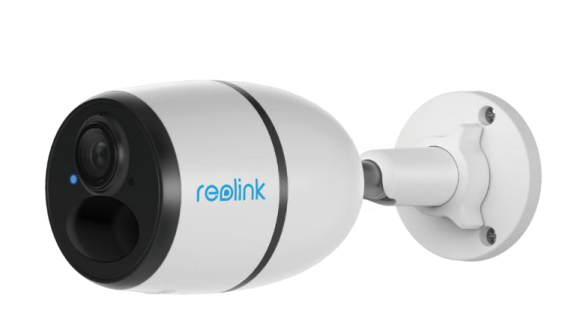
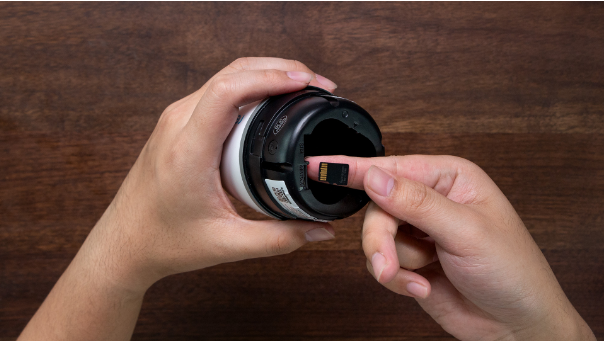
1. Find the micro SD card slot inside the camera's battery container.

2. Insert the micro SD card into the camera. Hold the card in the orientation shown and slide it in until it clicks into place at the back of the slot.
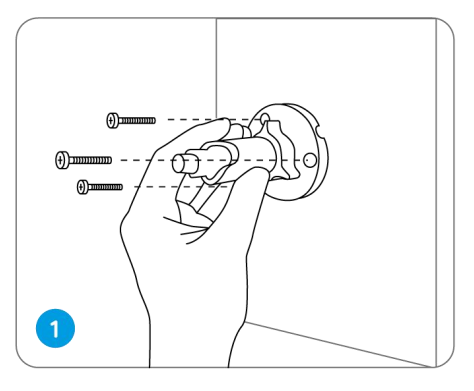
1. Drill holes in accordance with the mounting hole template and screw the security mount to the wall.
If you are mounting the camera on any hard surface, insert plastic anchors into the holes first.
2. Install the camera on the security mount. Rotate it clockwise to tighten it.

3. Rotate the adjustment knob counterclockwise to loosen it and adjust the camera direction to get the best view.
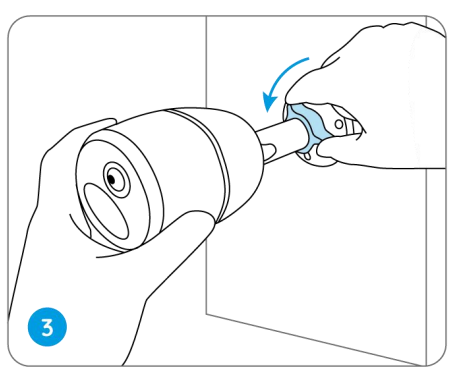
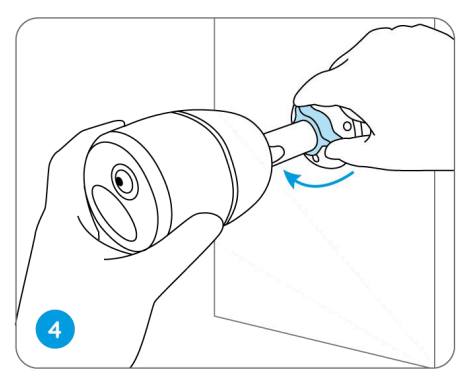
4. Rotate the adjustment knob clockwise to lock the camera in position.
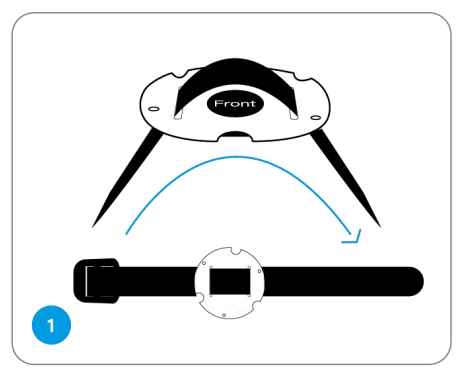
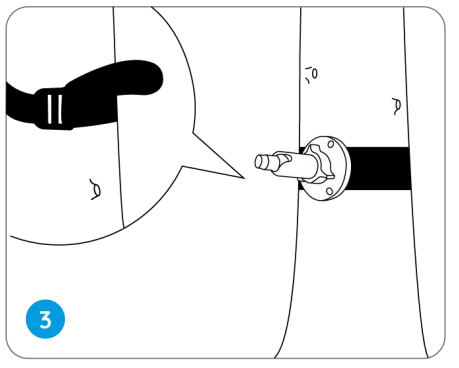
1. Thread the strap to the mounting plate.
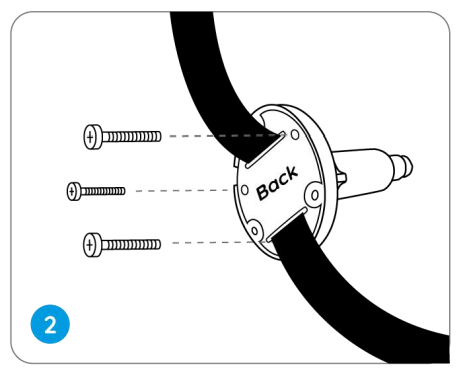
2. Attach the plate to the security mount with the smaller screws.
3. Fasten the security mount to a tree.
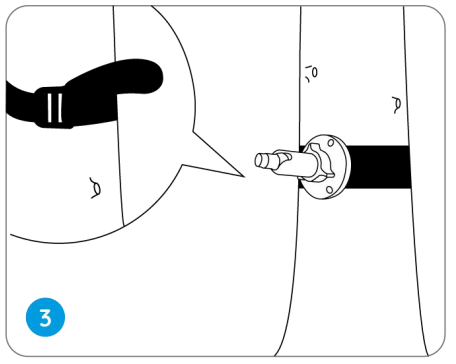
4. Install the camera and adjust the camera angles as instructed in steps 2 & 4 in the previous installation guide.
Install the nano SIM card and power up the camera. Start the initial setup via Reolink App or Client after you hear the voice prompt "Network connection succeeded".
* If you couldn't hear this voice prompt, please refer to the instruction to r eset your camera.
Step 1. Tap on the icon in the top right corner of the interface to start the configuration. Step 2. Scan the QR code on the bottom of the camera. If the phone doesn't respond, tap the Enter button and enter the 16-character UID under the QR code of the camera. Step 3. Create the login password and tap Next to continue. Step 4. Name the camera and tap Next. Step 5. Read the tips and click Use Now to finish the initial setup. For a more detailed tutorial, refer to How to Do Initial Setup for Reolink Go via Reolink App.
Step 1. Launch Reolink Client and click the "+" button. Step 2. Enter the UID of the camera and click Add. Step 3. Create a password for your camera and click Next. Step 4. Name your camera and click Finish. For more details, refer to How to Initially Set up 4G Cameras via Reolink Client.